WPC Patio Deck Tiles Interlocking DIY Floor Tiles for Outdoor Quick Decking
WPC Patio Deck Tiles Interlocking DIY Floor Tiles for Outdoor Quick Decking
Couldn't load pickup availability
Why Choose Our Interlocking Deck Tiles?
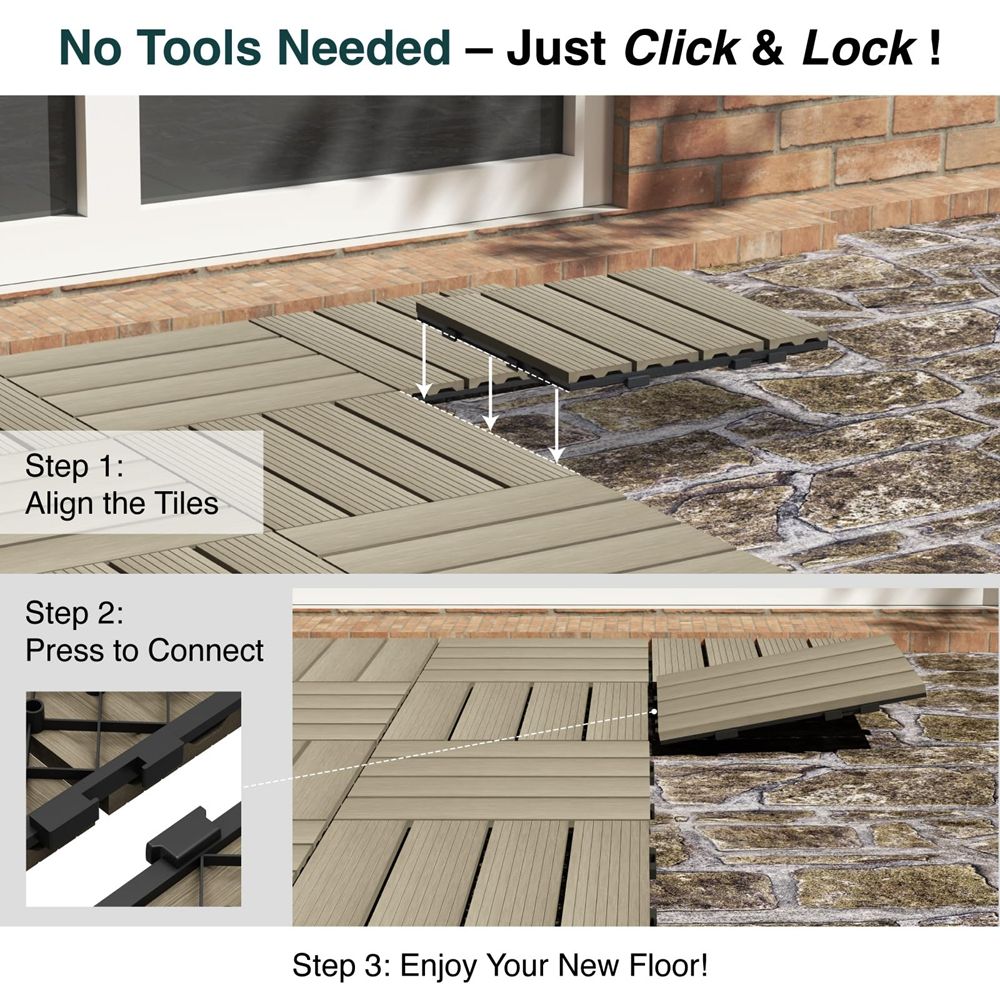
✅ Effortless Installation – No tools or adhesive needed; click-lock system for DIY assembly in hours
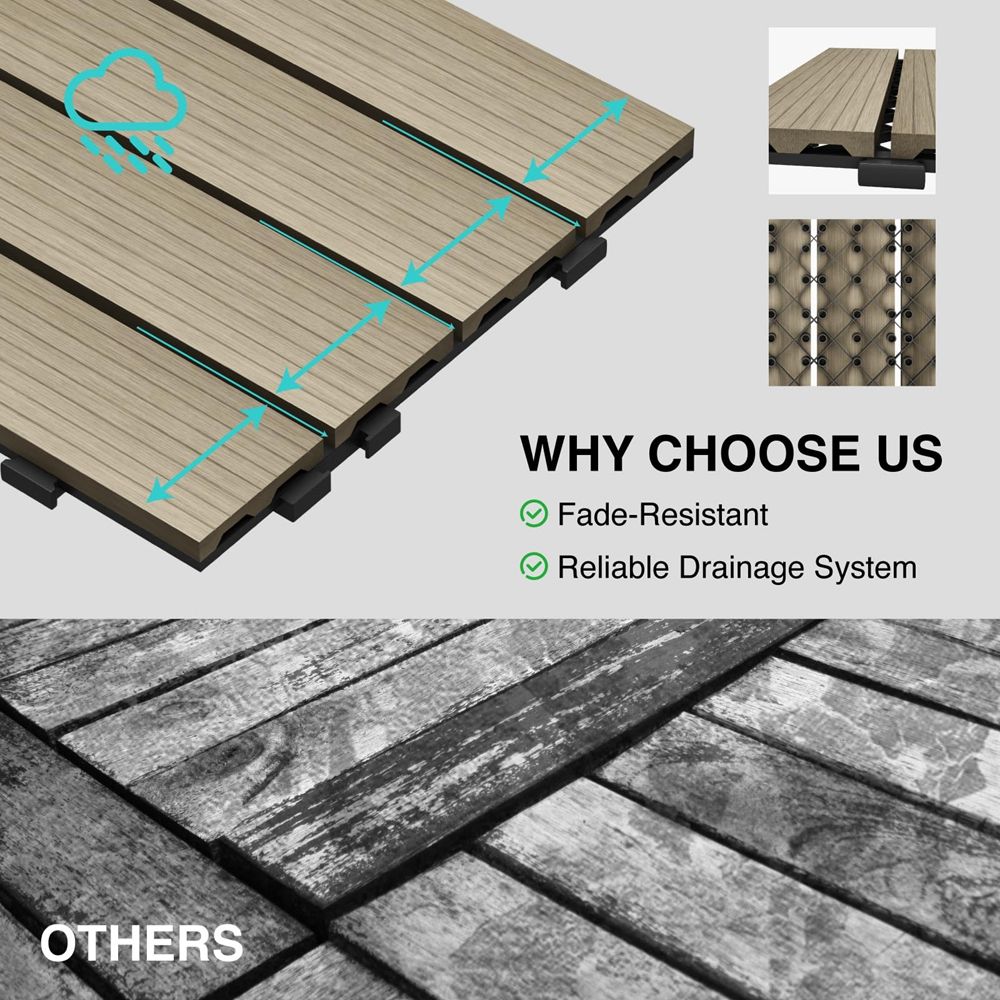
✅ Weatherproof & Durable – Waterproof, UV-resistant, and fade-proof for year-round outdoor use
✅ Eco-Friendly Material – Made from recycled wood fibers and HDPE plastic (no harmful chemicals)
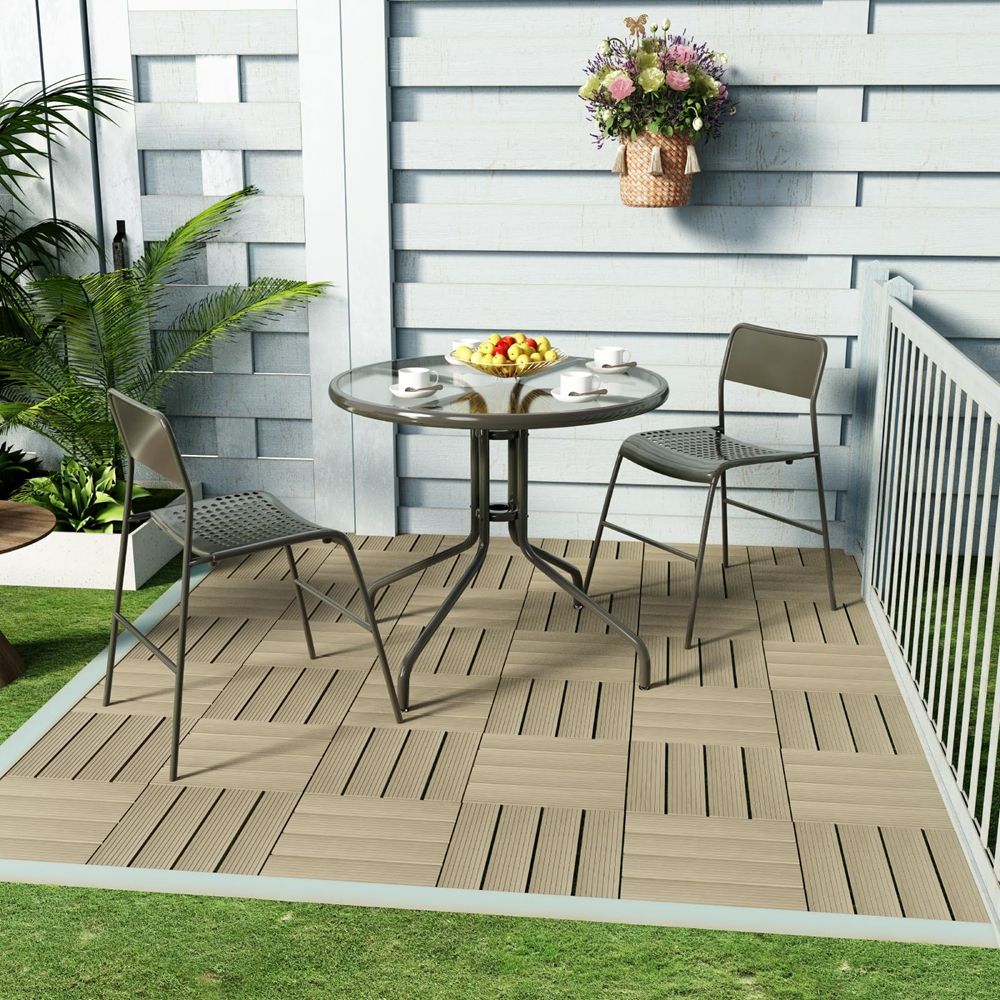
✅ Versatile Use – Ideal for patios, poolsides, gardens, balconies, and even indoor spaces like basements
✅ 5-Year Warranty – Guaranteed against fading, cracking, and structural damage
"Transformed my balcony in a weekend – no professional help needed!" – Verified Buyer
Key Specifications
| Feature | Details |
|---|---|
| Material | WPC (Wood-Plastic Composite) – 60% recycled wood fiber + 40% HDPE plastic |
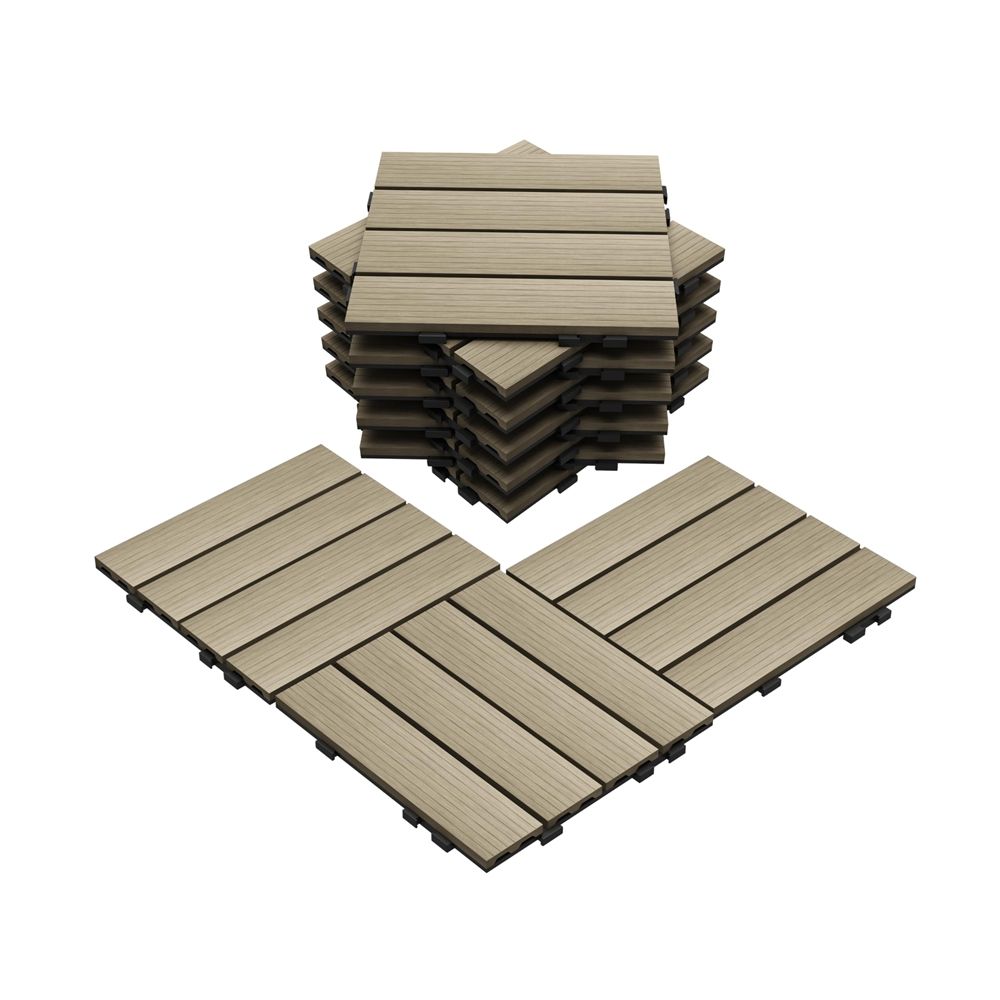
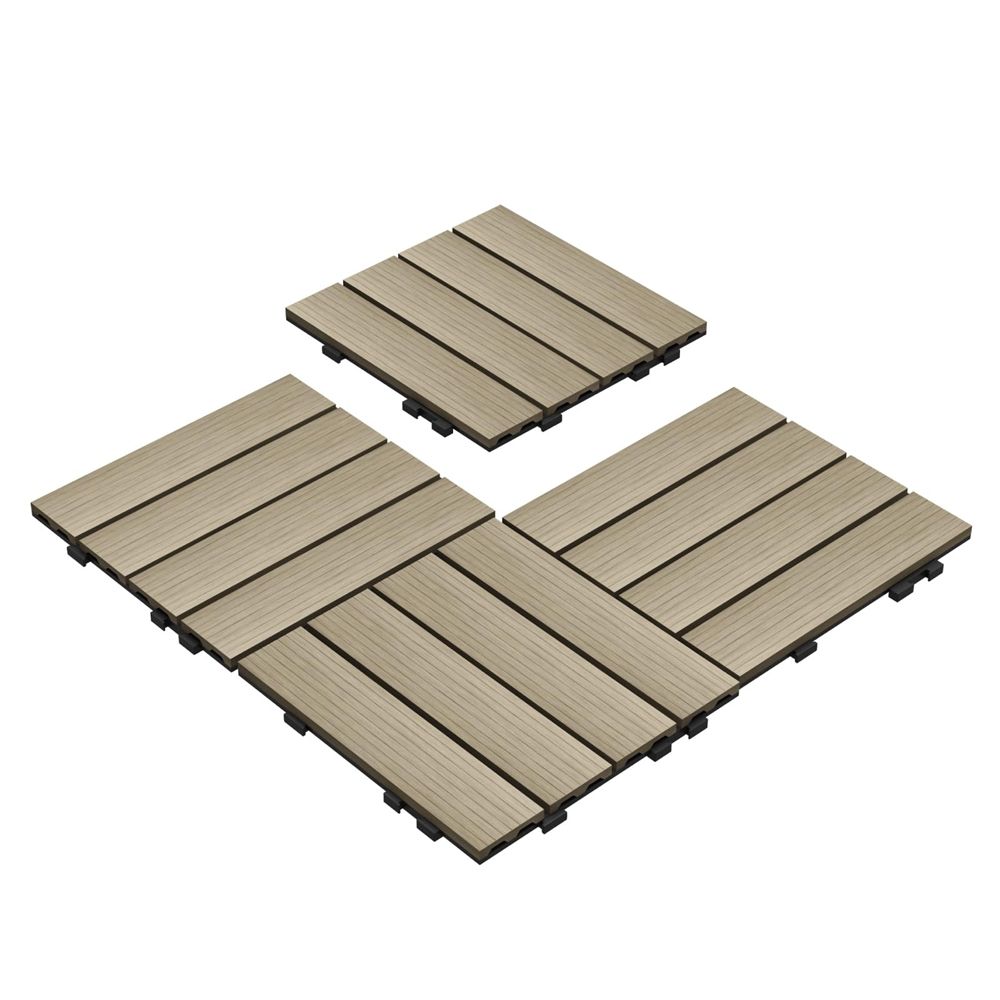
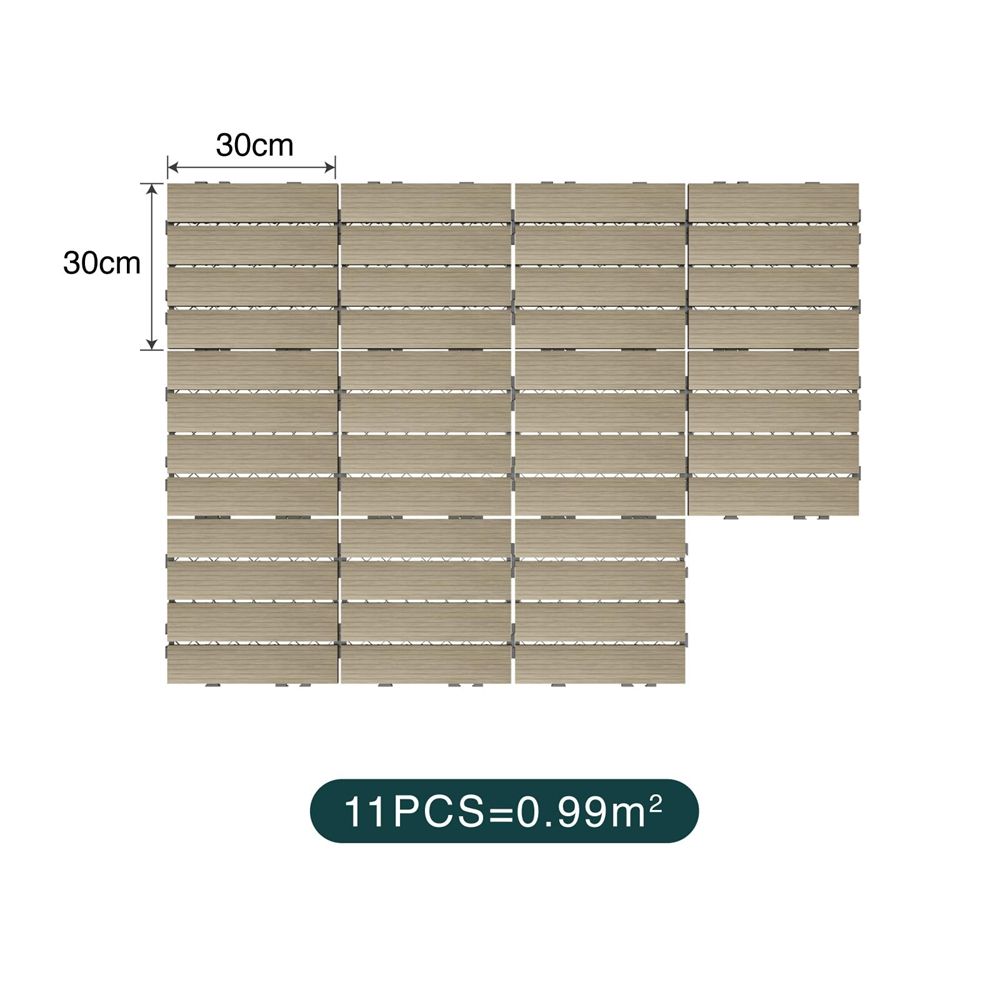
| Tile Size | 30x30cm (12x12") standard (other sizes available upon request) |
| Thickness | 2.5cm (1 inch) – sturdy enough for heavy furniture |
| Color Options | Natural Wood (Brown), Gray, Teak (custom colors available) |
| Surface Texture | Realistic wood grain embossing (soft-touch finish) |
| Weight Capacity | Up to 300kg per tile (suitable for loungers, tables, etc.) |
| Installation | Interlocking tabs (no glue/screws; floating installation) |
| Drainage | Micro-perforated surface for quick water runoff |
Product Highlights
✨ Anti-Slip & Safe – Textured surface provides traction even when wet (safe for kids/pets)
✨ Low Maintenance – Just hose down with water; no sanding, staining, or sealing required
✨ Temperature Resistant – Stable from -30°C to +60°C (won’t warp in extreme heat/cold)
✨ Pest & Mold Proof – No termites, fungi, or algae growth
✨ Eco-Friendly – 100% recyclable material (SGS-certified green product)
Perfect for: Patios | Poolsides | Gardens | Balconies | Indoor basements
How to Use (Installation Guide)
1️⃣ Prepare Surface – Ensure ground is flat, clean, and dry (concrete, tiles, or compacted soil work)
2️⃣ Plan Layout – Arrange tiles in desired pattern (start from a corner for symmetry)
3️⃣ Click Tiles Together – Align interlocking tabs and press firmly until fully connected
4️⃣ Trim if Needed – Use a utility knife to cut tiles for edge fitting (measure twice, cut once
5️⃣ Add Edge Restraints – Optional: Use plastic clips to secure perimeter and prevent shifting
⚠️ Pro Tip: Leave a 5mm gap between tiles and walls for thermal expansion
Fsilon Home Building Materials Co., Ltd.
Chat Now
Use the form to get in touch with us. We will be in contact within 24 hours.


