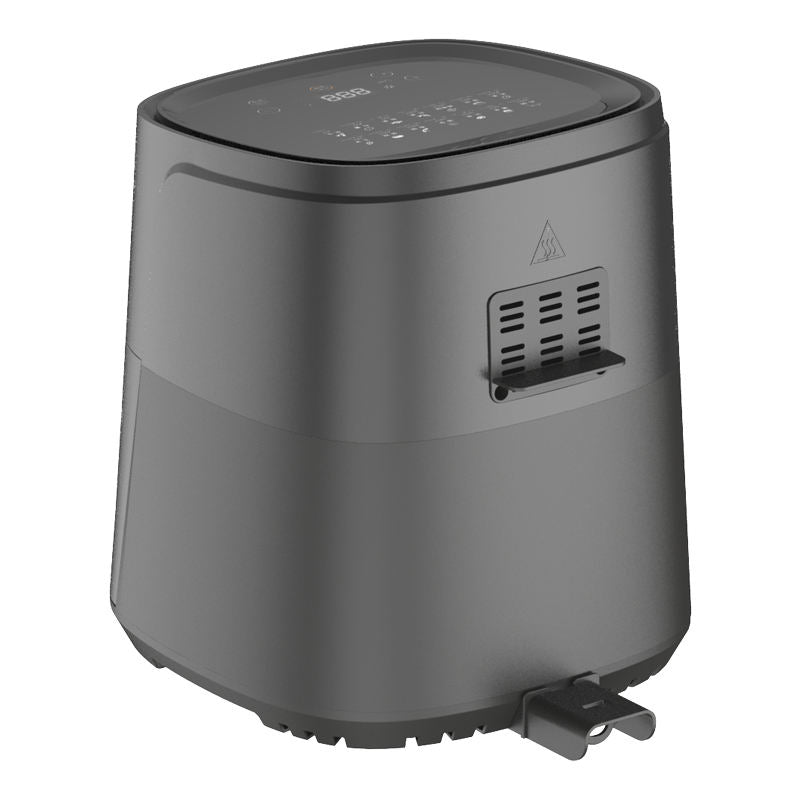
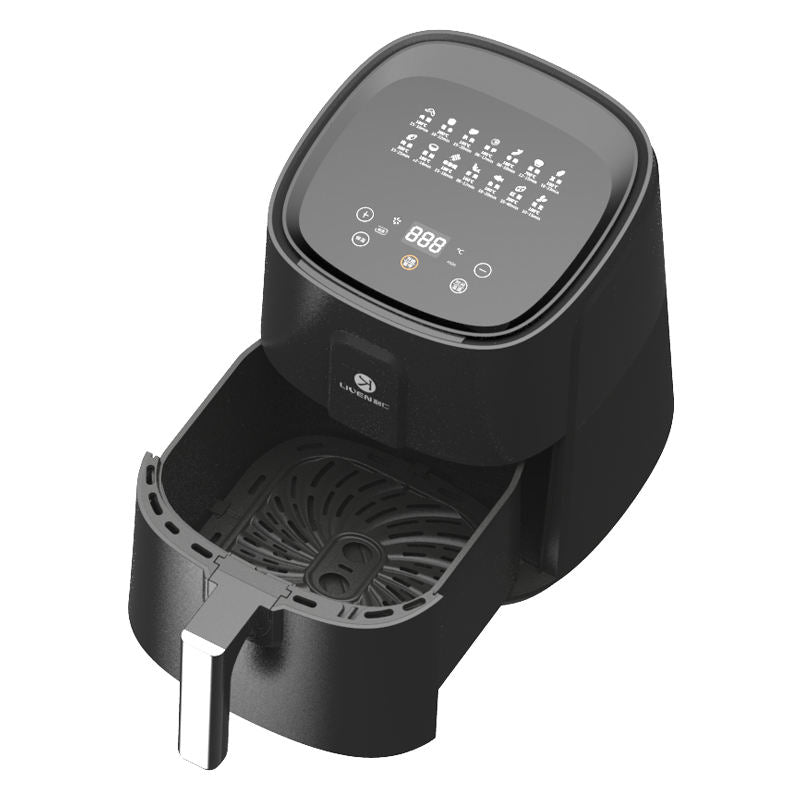
The smart touch control panel is a standout feature. It provides an intuitive and user-friendly interface that allows for easy operation. With just a touch, you can access various cooking functions, adjust settings like temperature, cooking time, and even select from preset cooking programs if available.
The touch controls are responsive and clearly labeled, making it accessible for both novice cooks who are just starting to explore the world of cooking and experienced chefs who appreciate the convenience and precision it offers.
6L Capacity
The generous 6L capacity makes it suitable for cooking larger quantities of food. Whether you're preparing a big family dinner, entertaining guests, or cooking in bulk for meal prep, this appliance can handle the task. It can accommodate whole chickens, large batches of stews, or multiple side dishes simultaneously.
This spacious interior also gives you the flexibility to experiment with different combinations of ingredients and recipes without having to worry about space limitations.
Multifunctionality
It's capable of performing a wide range of cooking functions, including but not limited to boiling, stewing, baking, roasting, and slow cooking. This versatility means you can use it to create a diverse array of dishes, from a simple pot of soup to a decadent baked cake or a slow-cooked pulled pork.
By having multiple functions in one appliance, you can save on kitchen space and avoid the need to invest in multiple separate cooking devices.
Even Heat Distribution
Equipped with an efficient heating system that ensures even heat distribution throughout the cooking chamber. This results in uniformly cooked food, eliminating the problem of undercooked or overcooked areas. Whether you're baking a cake that needs to rise evenly or roasting a large cut of meat that requires consistent heat penetration, you can rely on this appliance to deliver excellent results.
Easy to Clean
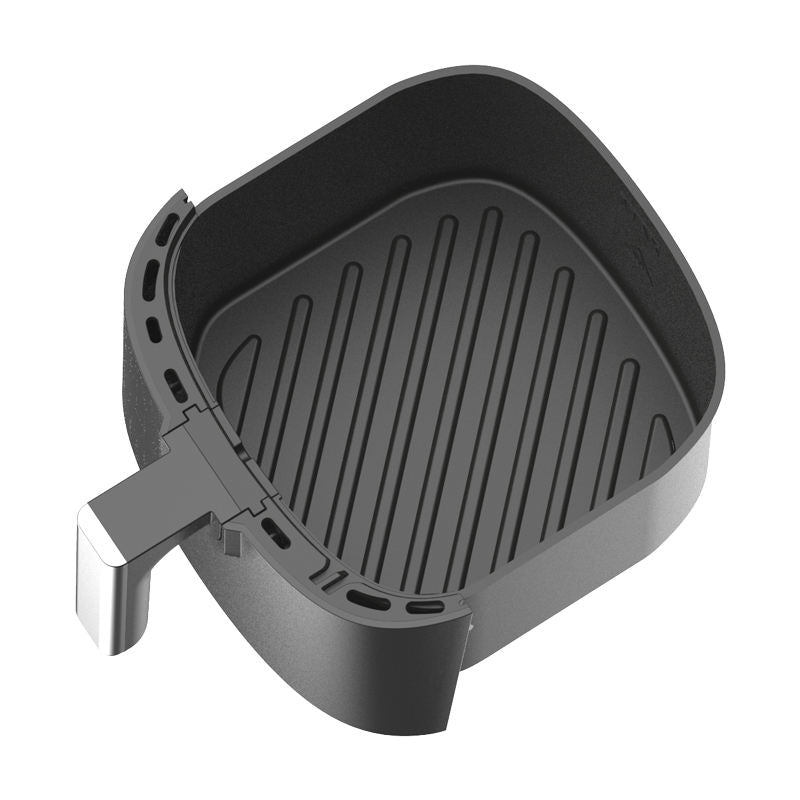
The removable inner pot and other accessible parts are typically designed to be easily cleaned. They are often made of materials that can be washed with warm, soapy water or are even dishwasher-safe.
The smooth interior surfaces and non-stick coatings (if applicable) prevent food from sticking, allowing you to wipe away any residue with minimal effort after each use.
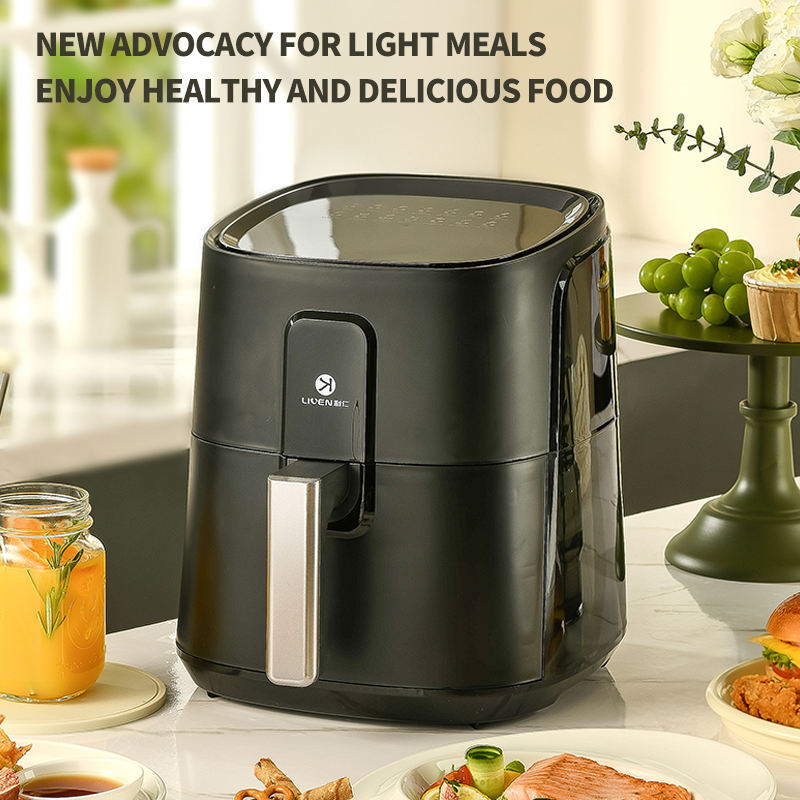
Stylish Design
The appliance likely has a sleek and modern design that can enhance the overall aesthetic of your kitchen. Its appearance is not only pleasing to the eye but also fits well with various kitchen decors, whether you have a contemporary, minimalist, or traditional style kitchen.
📌 Key Specifications
Parameter
Details
Brand
[Manufacturer's Brand Name]
Model
[Model Number if applicable]
Type
Cooking Appliance with Smart Touch Control Panel and 6L Capacity
Power
[X]W (powerful enough for efficient operation across all functions)
Voltage
[Standard household voltage, e.g., 220V or other applicable voltage]
Capacity
6L (highlighting its ability to hold substantial amounts of food)
Cooking Functions
Boiling, stewing, baking, roasting, slow cooking (list all available functions and briefly describe how each is achieved)
Temperature Control Range
Adjustable from [minimum temperature] to [maximum temperature] (covering a range suitable for different cooking techniques)
Cooking Time Range
Adjustable from [minimum time] to [maximum time] (allowing flexibility for various recipes and food items)
Inner Pot Material
[Describe the type of material used for the inner pot, e.g., non-stick ceramic, stainless steel, etc., and its benefits]
Product Size
[Dimensions in length, width, and height] (mentioning its size for storage and placement in the kitchen)
Weight
[X] kg (sturdy yet manageable for moving around if applicable)
Color
[Color of the appliance, if specified]
Certifications
Complies with international safety and quality standards for electric cooking appliances
App-Controlled
[Yes/No depending on the model]
✨ Product Highlights
Convenient Cooking: Thanks to the smart touch control panel and its multifunctionality, cooking becomes a breeze. You can quickly set up the appliance for your desired dish, adjust the settings as needed during the cooking process, and even save time by using preset programs for common recipes.
Time-Saving: With the ability to handle multiple cooking functions and its efficient heating system, you can prepare a complete meal in a shorter amount of time. For example, you can start roasting a chicken while simultaneously slow-cooking a side dish in the same appliance, reducing the overall cooking time compared to using separate pans or cookers.
Healthy Cooking Options: Some functions like slow cooking and baking allow you to prepare meals with less oil or fat. You can enjoy delicious and nutritious food while maintaining a healthy diet.
Safe Operation: Incorporates safety features such as overheat protection, a stable base to prevent tipping, and heat-resistant handles. You can use the appliance with peace of mind, knowing that it's designed to keep you and your surroundings safe during the cooking process.
🍲/🍳/🥘 How to Use
Boiling Function
Initial Setup:
Place the appliance on a flat, stable, and heat-resistant surface in your kitchen. Make sure it's close to a power outlet.
Plug the appliance into the power outlet.
Preparing the Ingredients:
Decide what you want to boil, like pasta, vegetables, or make a soup. Prepare the ingredients accordingly. For example, measure the right amount of pasta and add it to the inner pot. If making soup, chop the vegetables, add broth or water, and seasonings.
Adding Liquid:
Pour an appropriate amount of liquid (water, broth, etc.) into the inner pot. Ensure not to exceed the maximum capacity of the pot as indicated by the manufacturer.
Setting the Boiling Function and Parameters:
Use the touch control panel to select the boiling function. Set the desired cooking time based on what you're boiling. Pasta might take around 8-12 minutes depending on the type, while boiling vegetables could take a few minutes less. You can usually adjust the temperature setting if needed, but the boiling function generally heats the liquid to its boiling point.
Starting the Boiling Process:
Close the lid (if applicable) and press the start button on the touch panel to begin the boiling process.
Monitoring and Serving:
Keep an eye on the liquid to see when it comes to a boil. You can observe this through indicator lights on the appliance or by noticing the bubbling in the pot. Once the food is cooked to your liking (e.g., pasta is al dente, vegetables are tender), carefully remove the inner pot using oven mitts if it's hot. Pour the contents into a serving dish or strain the pasta and serve.
Cleaning Up:
After boiling, turn off the appliance and unplug it. Let it cool down. Wash the inner pot with warm, soapy water to remove any food particles or residue. Wipe the exterior of the appliance to keep it clean and store it when it's dry.
Stewing Function
Initial Setup:
Follow the same initial setup steps as for boiling by placing the appliance on a suitable surface and plugging it in.
Preparing the Food:
Cut the meats and vegetables into appropriate sizes for stewing. Season them with salt, pepper, herbs, and any other desired seasonings. You can also brown the meats in the appliance (if it has a frying function and you prefer to do so) before starting the stewing process.
Adding Ingredients and Liquid:
Put the prepared ingredients into the inner pot. Add enough liquid (such as broth, water, or a combination of both) to cover the ingredients. The amount of liquid will depend on the recipe and the quantity of food.
Setting the Stewing Function and Parameters:
Use the touch control panel to select the stewing function. Set the temperature to a lower setting suitable for slow and gentle cooking. Set the cooking time according to your recipe. Stewing times can vary from a few hours to several hours depending on the ingredients and the desired consistency of the stew.
Starting the Stewing Process:
Once you've set the parameters, press the start button on the touch panel to initiate the stewing process. The appliance will maintain a steady, low heat to tenderize the food and meld the flavors together.
Monitoring and Serving:
Periodically check on the stew during the cooking process to make sure it's not drying out or overcooking. You can adjust the settings if needed. When the stew is ready, carefully remove the inner pot and serve the delicious stew in bowls.
Cleaning Up:
After stewing, turn off the appliance and unplug it. Let the inner pot cool down. Wash the inner pot and any other removable parts with warm, soapy water. Wipe the exterior of the appliance to keep it clean and store it when it's dry.
Baking Function
Initial Setup:
Place the appliance on a flat surface and plug it in as usual.
Preparing the Ingredients:
Prepare the baking ingredients according to your recipe. For example, if making a cake, mix the flour, sugar, eggs, baking powder, and other ingredients to form a batter. Grease the inner pot or line it with parchment paper if needed.
Setting the Baking Function and Parameters:
Use the touch control panel to select the baking function. Set the appropriate temperature and baking time. For a simple cake, you might set the temperature to around 160-180°C (320-356°F) and the baking time to 20-30 minutes depending on the size and recipe.
Starting the Baking Process:
Once you've set the parameters, close the lid (if applicable) and press the start button on the touch panel to begin the baking process.
Monitoring and Serving:
During the baking process, you can check on the progress through the indicator lights or any display on the appliance. You can also use a toothpick inserted into the center of the baked item to check for doneness. If it comes out clean, it's usually done. When the baking is complete, carefully remove the lid and let the baked good cool for a while before serving.
Cleaning Up:
After baking, turn off the appliance and unplug it. Let the inner pot cool down. Wash the inner pot with warm, soapy water to remove any cake residue. Wipe the exterior of the appliance and store it when it's dry.
Roasting Function
Initial Setup:
Position the appliance on a flat, stable, and heat-resistant surface and plug it into the power outlet.
Preparing the Food:
Prepare the food items you want to roast. For example, if roasting a chicken, clean the chicken, season it with salt, pepper, and your favorite spices or marinades. You can optionally stuff the chicken with herbs, onions, or other ingredients. Place the food in the inner pot.
Setting the Roasting Function and Parameters:
Use the touch control panel to select the roasting function. Set the appropriate temperature and cooking time. For a medium-sized chicken, you might set the temperature to around 180-200°C (356-392°F) and the cooking time to about 1.5 to 2 hours depending on its weight. Adjust the settings based on the type and size of the food you're roasting.
Starting the Roasting Process:
Once you've set the parameters, close the lid (if applicable) and press the start button on the touch panel to begin the roasting process.
Monitoring and Serving:
During the roasting process, you can check on the progress through the indicator lights or any display on the appliance. You can also use a food thermometer to check the internal temperature of the food to ensure it's cooked to the desired doneness. When the roasting is complete, carefully remove the lid and transfer the roasted food to a serving plate.
Cleaning Up:
After roasting, turn off the appliance and unplug it. Let the inner pot cool down. Wash the inner pot with warm, soapy water to remove any food residue. Wipe the exterior of the appliance and store it when it's dry.
Slow Cooking Function
Initial Setup:
Place the appliance on a flat surface and plug it in as usual.
Preparing the Food:
Cut the meats and vegetables into appropriate sizes for slow cooking. Season them with salt, pepper, herbs, and any other desired seasonings. You can brown the meats in the appliance (if it has a frying function and you prefer to do so) before starting the slow cooking process.
Adding Ingredients and Liquid:
Put the prepared ingredients into the inner pot. Add enough liquid (such as broth, water, or a combination of both) to cover the ingredients. The amount of liquid will depend on the recipe and the quantity of food.
Setting the Slow Cooking Function and Parameters:
Use the touch control panel to select the slow cooking function. Set the temperature to a lower setting suitable for slow and gentle cooking. Set the cooking time according to your recipe. Slow cooking times can vary from a few hours to several hours depending on the ingredients and the desired consistency of the dish.
Starting the Slow Cooking Process:
Once you've set the parameters, close the lid (if applicable) and press the start button on the touch panel to initiate the slow cooking process. The appliance will maintain a steady, low heat to tenderize the food and meld the flavors together.
Monitoring and Serving:
Periodically check on the dish during the slow cooking process to make sure it's not drying out or overcooking. You can adjust the settings if needed. When the slow cooking is complete, carefully remove the lid and serve the delicious dish in bowls.
Cleaning Up:
After slow cooking, turn off the appliance and unplug it. Let the inner pot cool down. Wash the inner pot and any other removable parts with warm, soapy water. Wipe the exterior of the appliance and store it when it's dry.
🛡️ Warranty & After-Sales
1-Year Warranty: The manufacturer stands behind the quality of this product and offers a one-year warranty that covers any manufacturing defects. This gives you the confidence to purchase and use the appliance, knowing that they'll take care of any issues that may arise during normal use.
Support: There is a dedicated customer support team available to assist you with any questions or concerns you may have. Whether it's about how to operate the appliance, troubleshoot a problem, or seek advice on maintenance, you can reach out to them via email, phone, or their online support portal.
Free Spare Parts: In case any parts of the appliance malfunction or wear out due to normal usage during the warranty period, free spare parts will be provided. This ensures that you can keep the appliance in optimal working condition.
Return and Replacement Options: If the product arrives damaged or has a significant defect that cannot be resolved through spare parts replacement, hassle-free return and replacement options are offered. Your satisfaction is the top priority.
Quality Assurance: The appliance has undergone rigorous testing to meet international safety and quality standards for electric cooking appliances. The strict quality control processes ensure that each unit you receive is of high quality and capable of providing excellent performance for your cooking needs.
In conclusion, this Smart Touch Control Panel 6L Capacity cooking appliance is a wonderful addition to any kitchen, providing a convenient, versatile, and efficient way to cook a variety of delicious meals. Whether you're a busy home cook or someone who loves to experiment with different recipes, it's sure to enhance your cooking experiences.
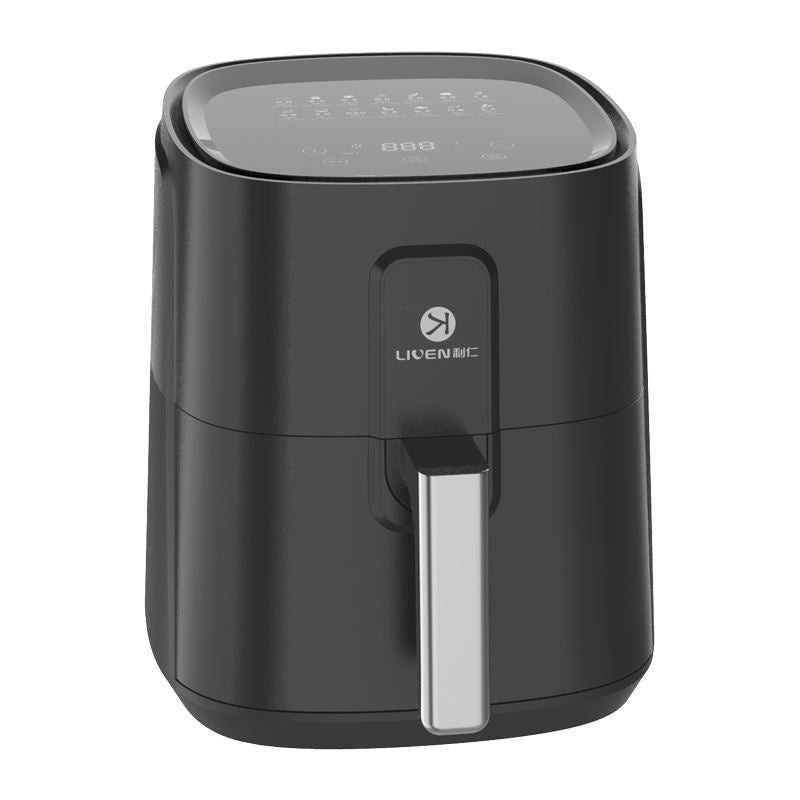
In 1995, Liven developed and produced the first electric pancake griddle for household use in China. As the pioneer of electric pancake griddles in China, Liven's electric pancake griddles have been highly recognized by consumers and enjoy the reputation of "the expert of electric pancake griddles" in the industry. Over the past 30 years, Liven has been dedicated to the research and development, design, production and sales of kitchen and home small appliances. With its self-owned brand "Liven" series products as the core, it is an innovative small appliance enterprise committed to providing consumers with high-quality life. Currently, the company has five product series: high-end K series, light luxury Oasis series, fashionable and simple C series, dynamic Moon Landing series, and For My Lady series, with over 30 categories and hundreds of product models.
Chat Now
Use the form to get in touch with us. We will be in contact within 24 hours.
Reputation guarantee
Reliable operation
Low logistics cost
Convenient import and export
Choosing a selection results in a full page refresh.